
Episode #11 - Selective Photo Editing
Most photos can benefit from universal edits to tone and color, but what do you do if just a sky needs to be made more dramatic or you want to add a soft splash of light to a person’s face? In this episode, Jeff and Kirk talk about adjusting specific areas within an image using selective editing tools in apps such as Lightroom, Luminar, and Affinity Photo.
Sponsor
Take Control Books. Get 30% off any Take Control Books purchase with the coupon code PHOTOACTIVE. Go to www.takecontrolbooks.com/photoactive
Hosts:
Show notes:
- Adobe Lightroom
- Graduated neutral density filter
- Snapseed
- Skylum Luminar
- Affinity Photo
- Botched Restoration of Jesus Fresco Miraculously Saves Spanish Town
Our snapshots:
- Jeff: Miops Mobile Dongle
- Kirk: SHOOT Shutter Remote Release Switch Control Cord Trigger RR-90 for Fuji Fujifilm
If you like the show, please subscribe in iTunes or your favorite podcast app, and please rate the podcast. And don't forget to join the PhotoActive Facebook group to discuss the podcast, share your photos, and more.

The (in)famous Jesus fresco in Borja, Spain.
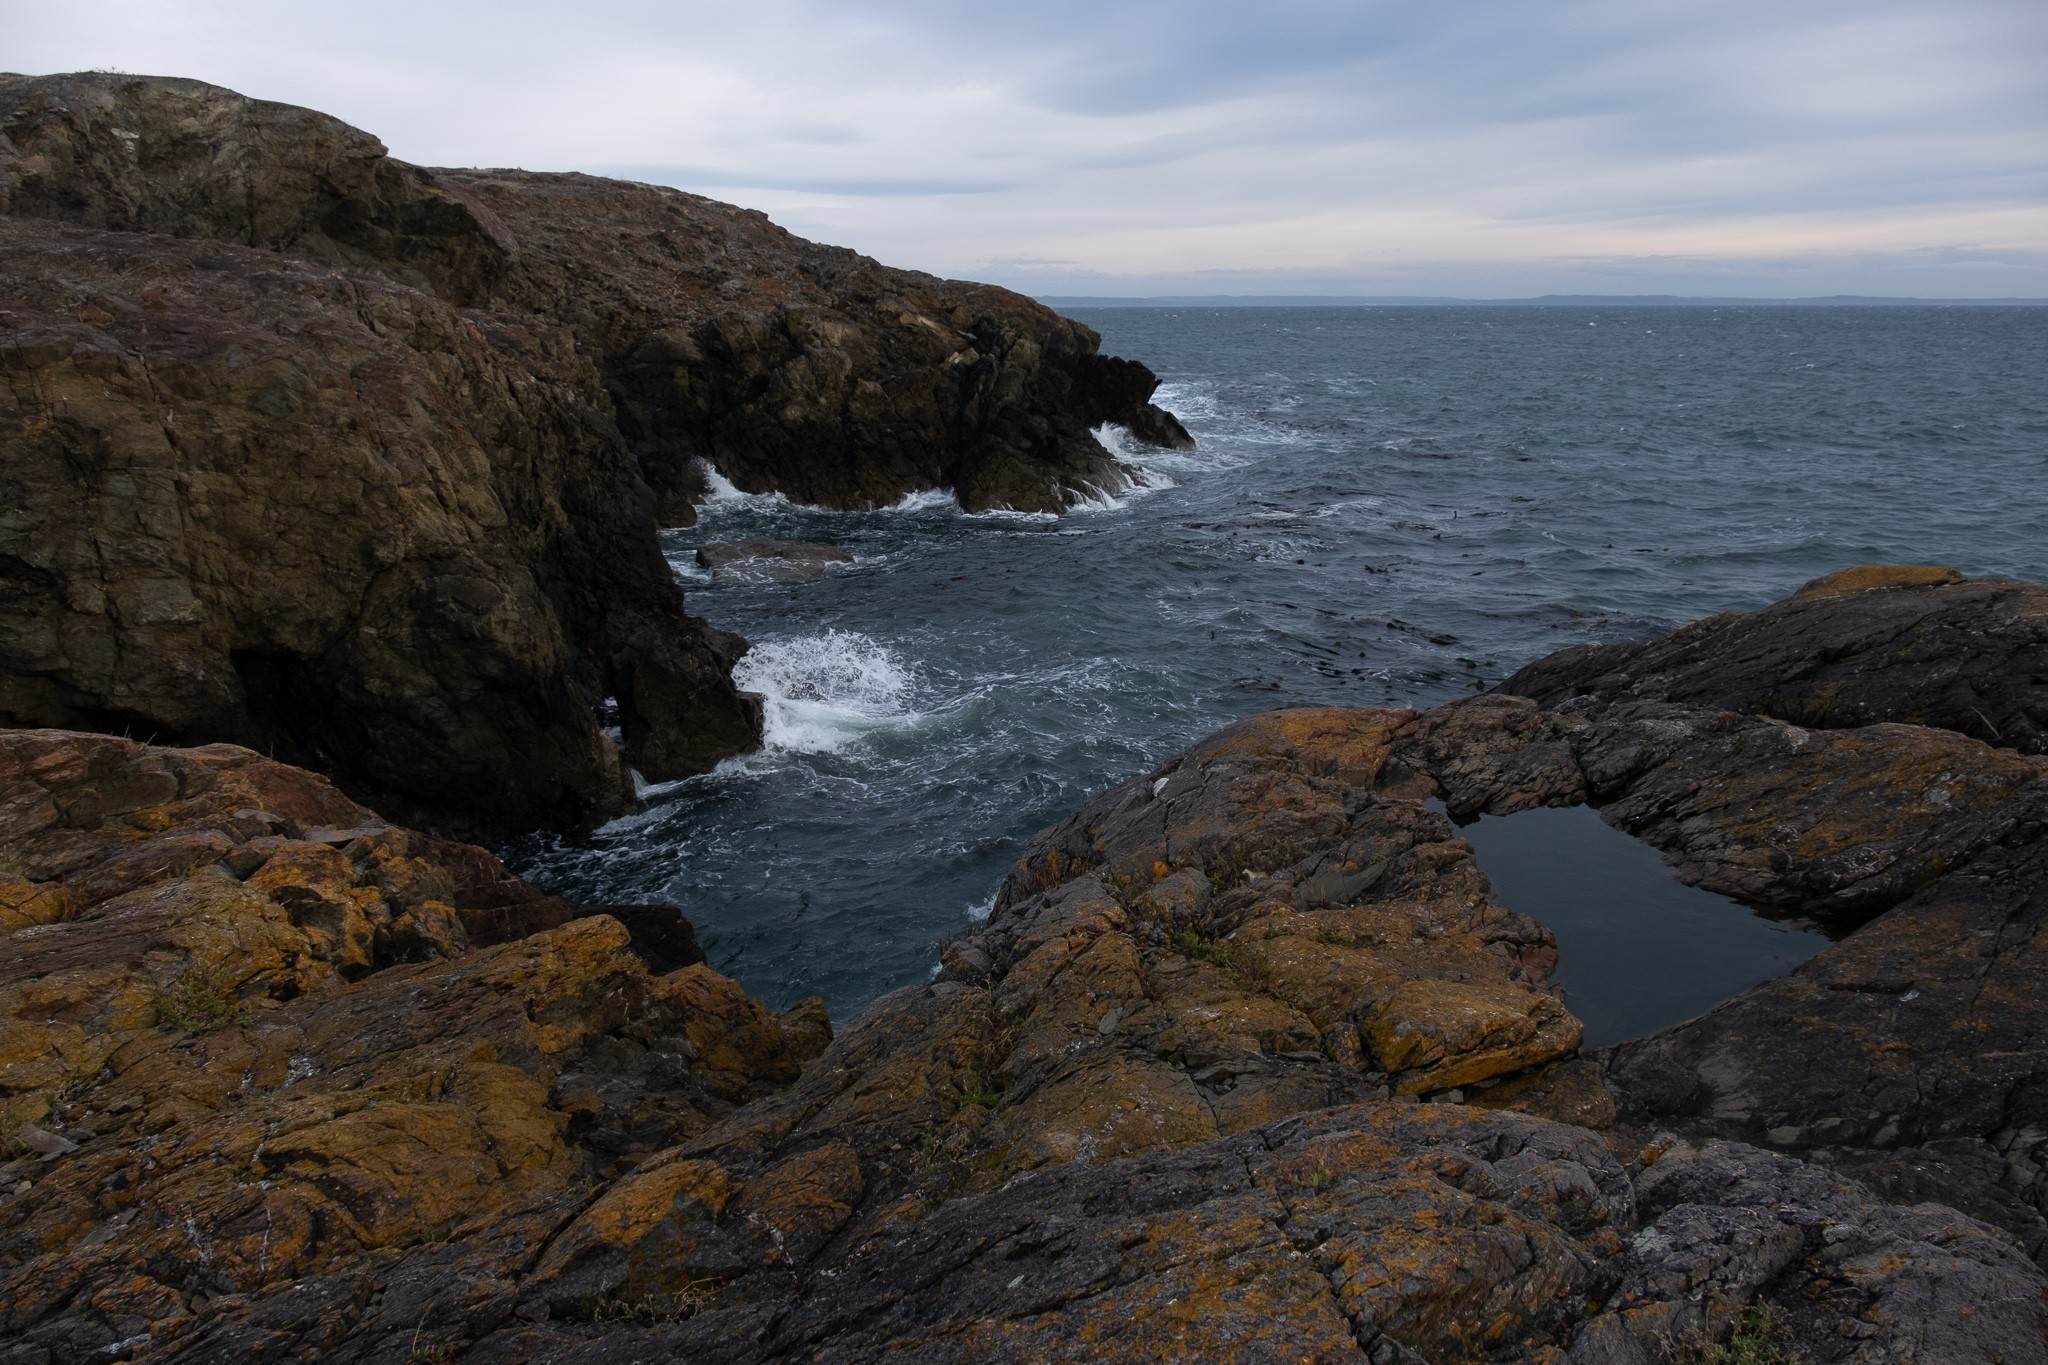

After making adjustments to the entire image, the sky is still lackluster and almost washed out.

To selectively edit the sky, I chose the Linear Gradient tool, dropped the Exposure value, and then dragged from the top of the screen to create the gradient. The sky gains definition, and the gradient blends in with the ocean area.

The gradient creates a problem with the rocks, however: they're too dark. So, I erase that portion of the gradient. (To make it easier to see, I've made the overlay visible, which appears as translucent red.)

The left side of the girl's face is in more shadow than I'd prefer, so it's time to apply a Radial Gradient.
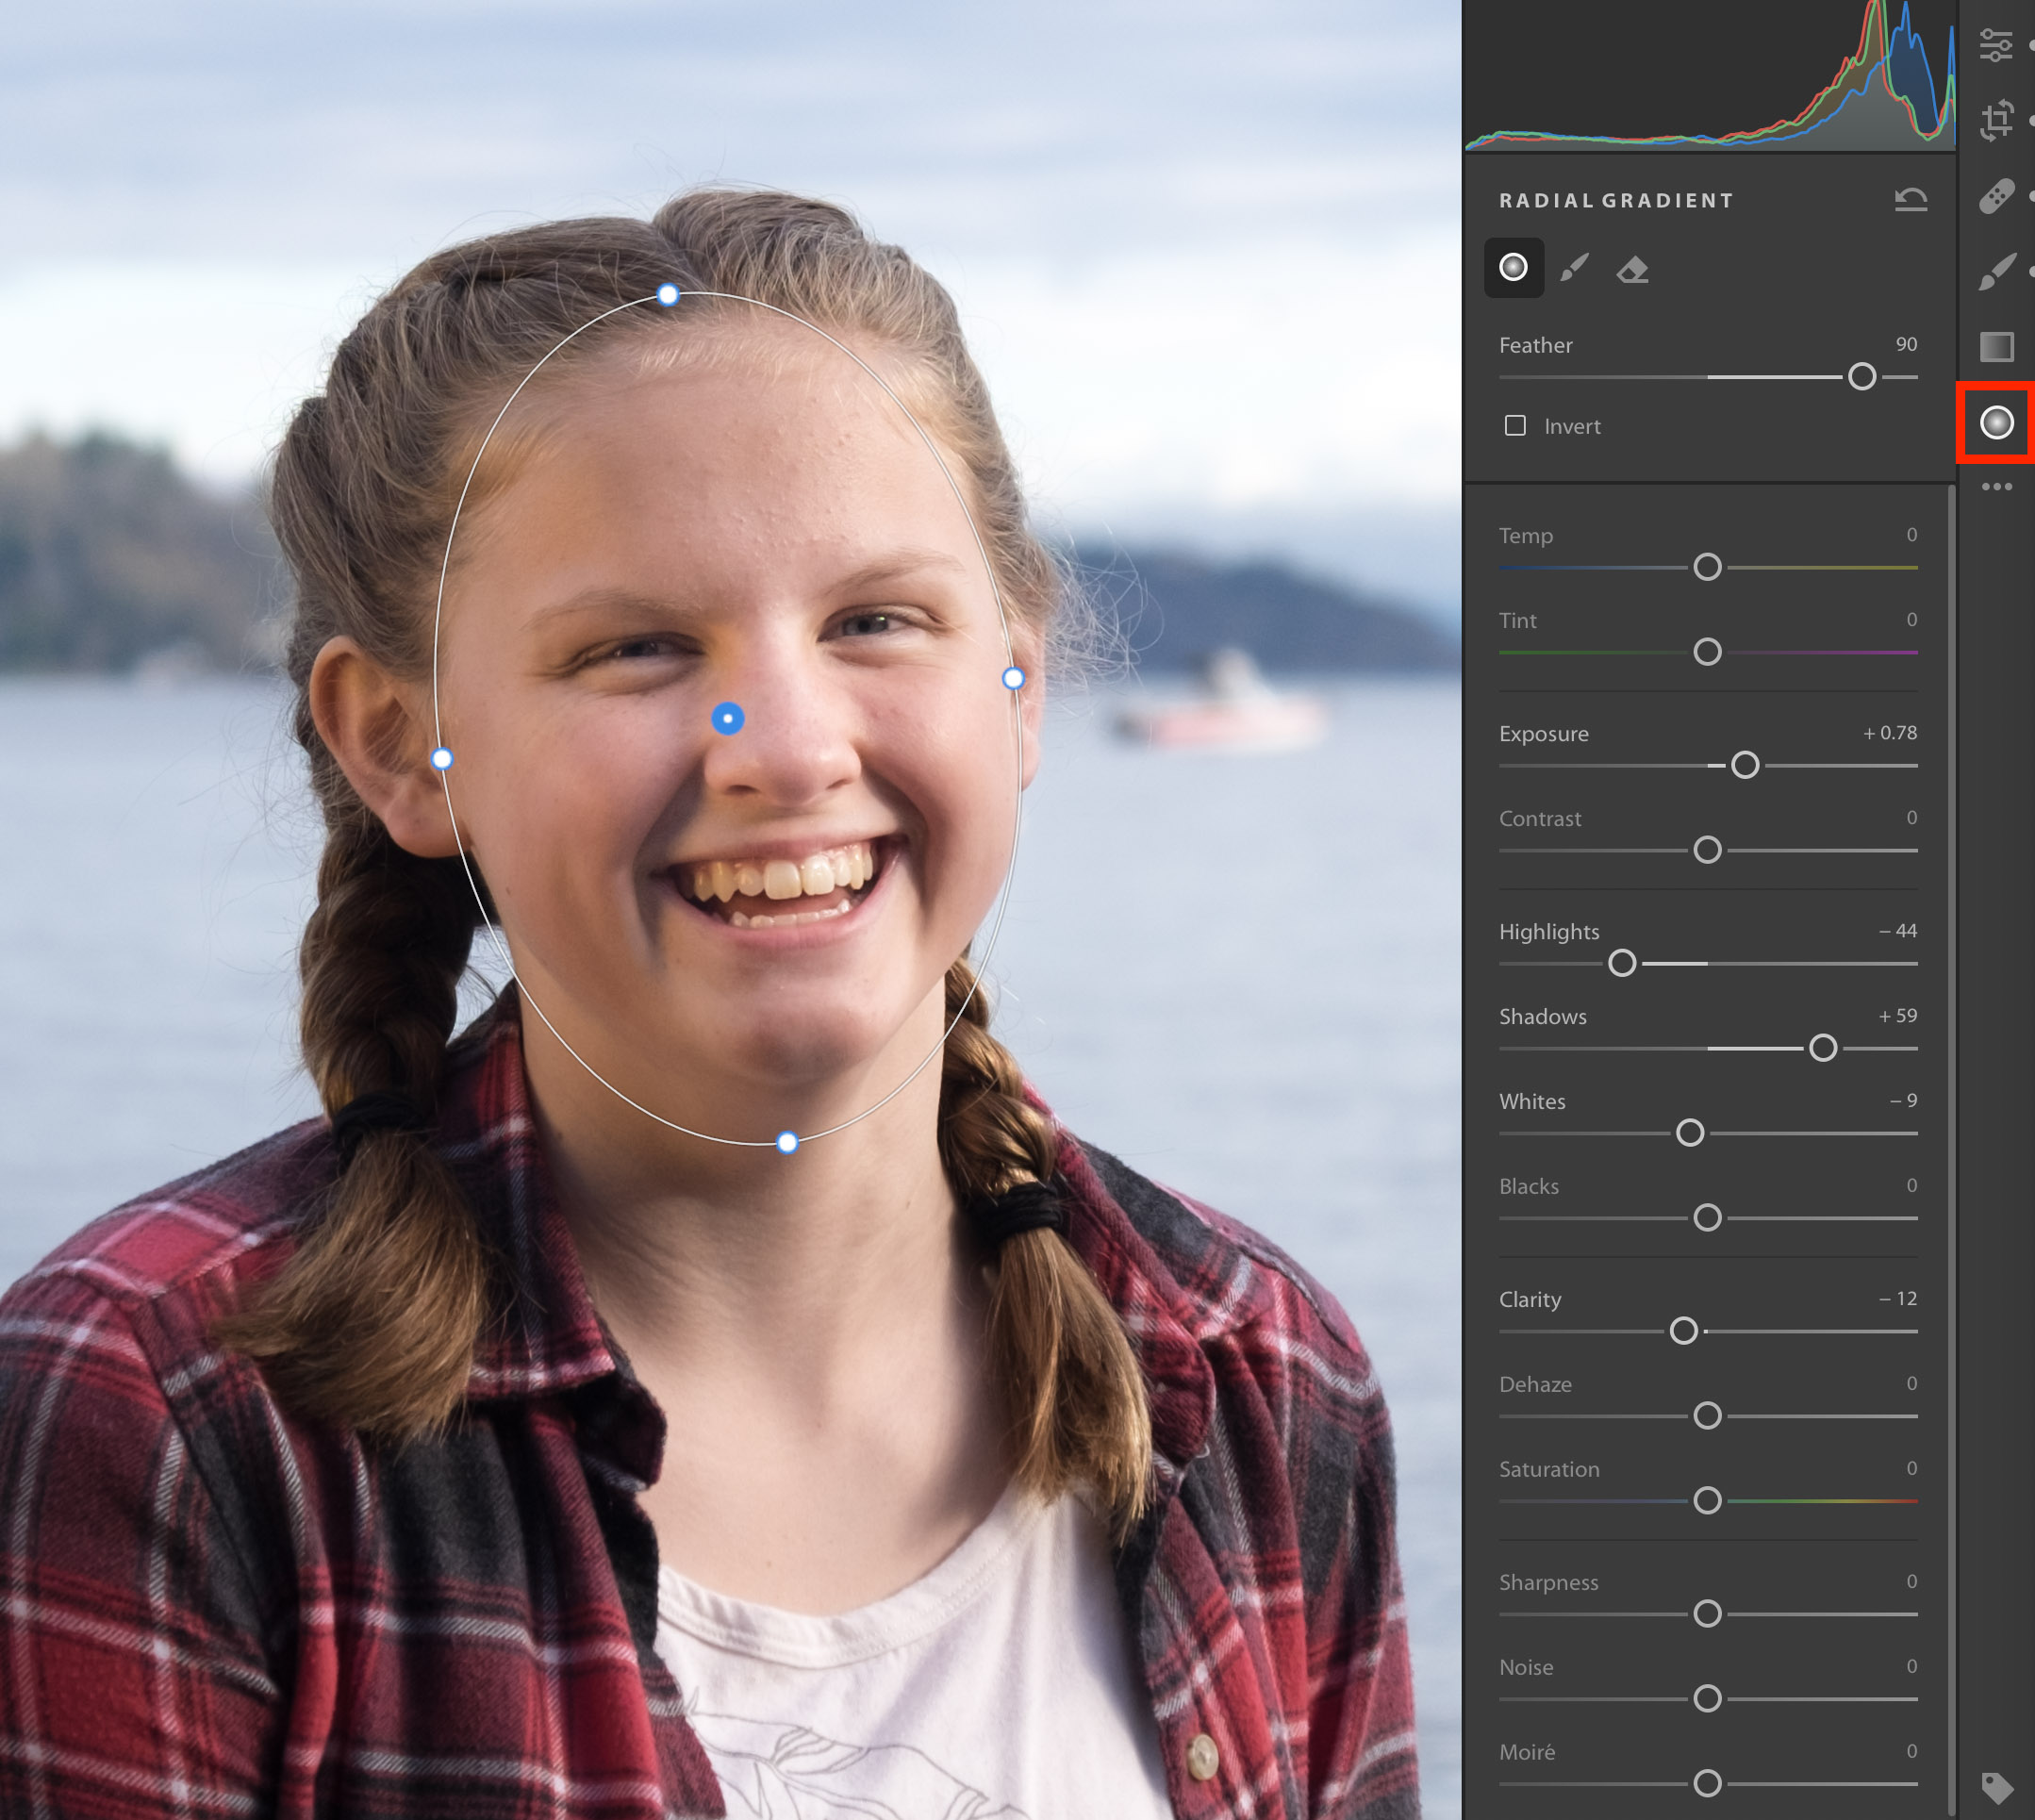
This Radial gradient increases the exposure and the shadows to add some fill light to her face without affecting the rest of the image. And because it's a gradient, the light increases feathers around the middle of the oval to blend in.

Kirk applied a lens blur effect in Snapseed to draw attention to the gravestone in the foreground.

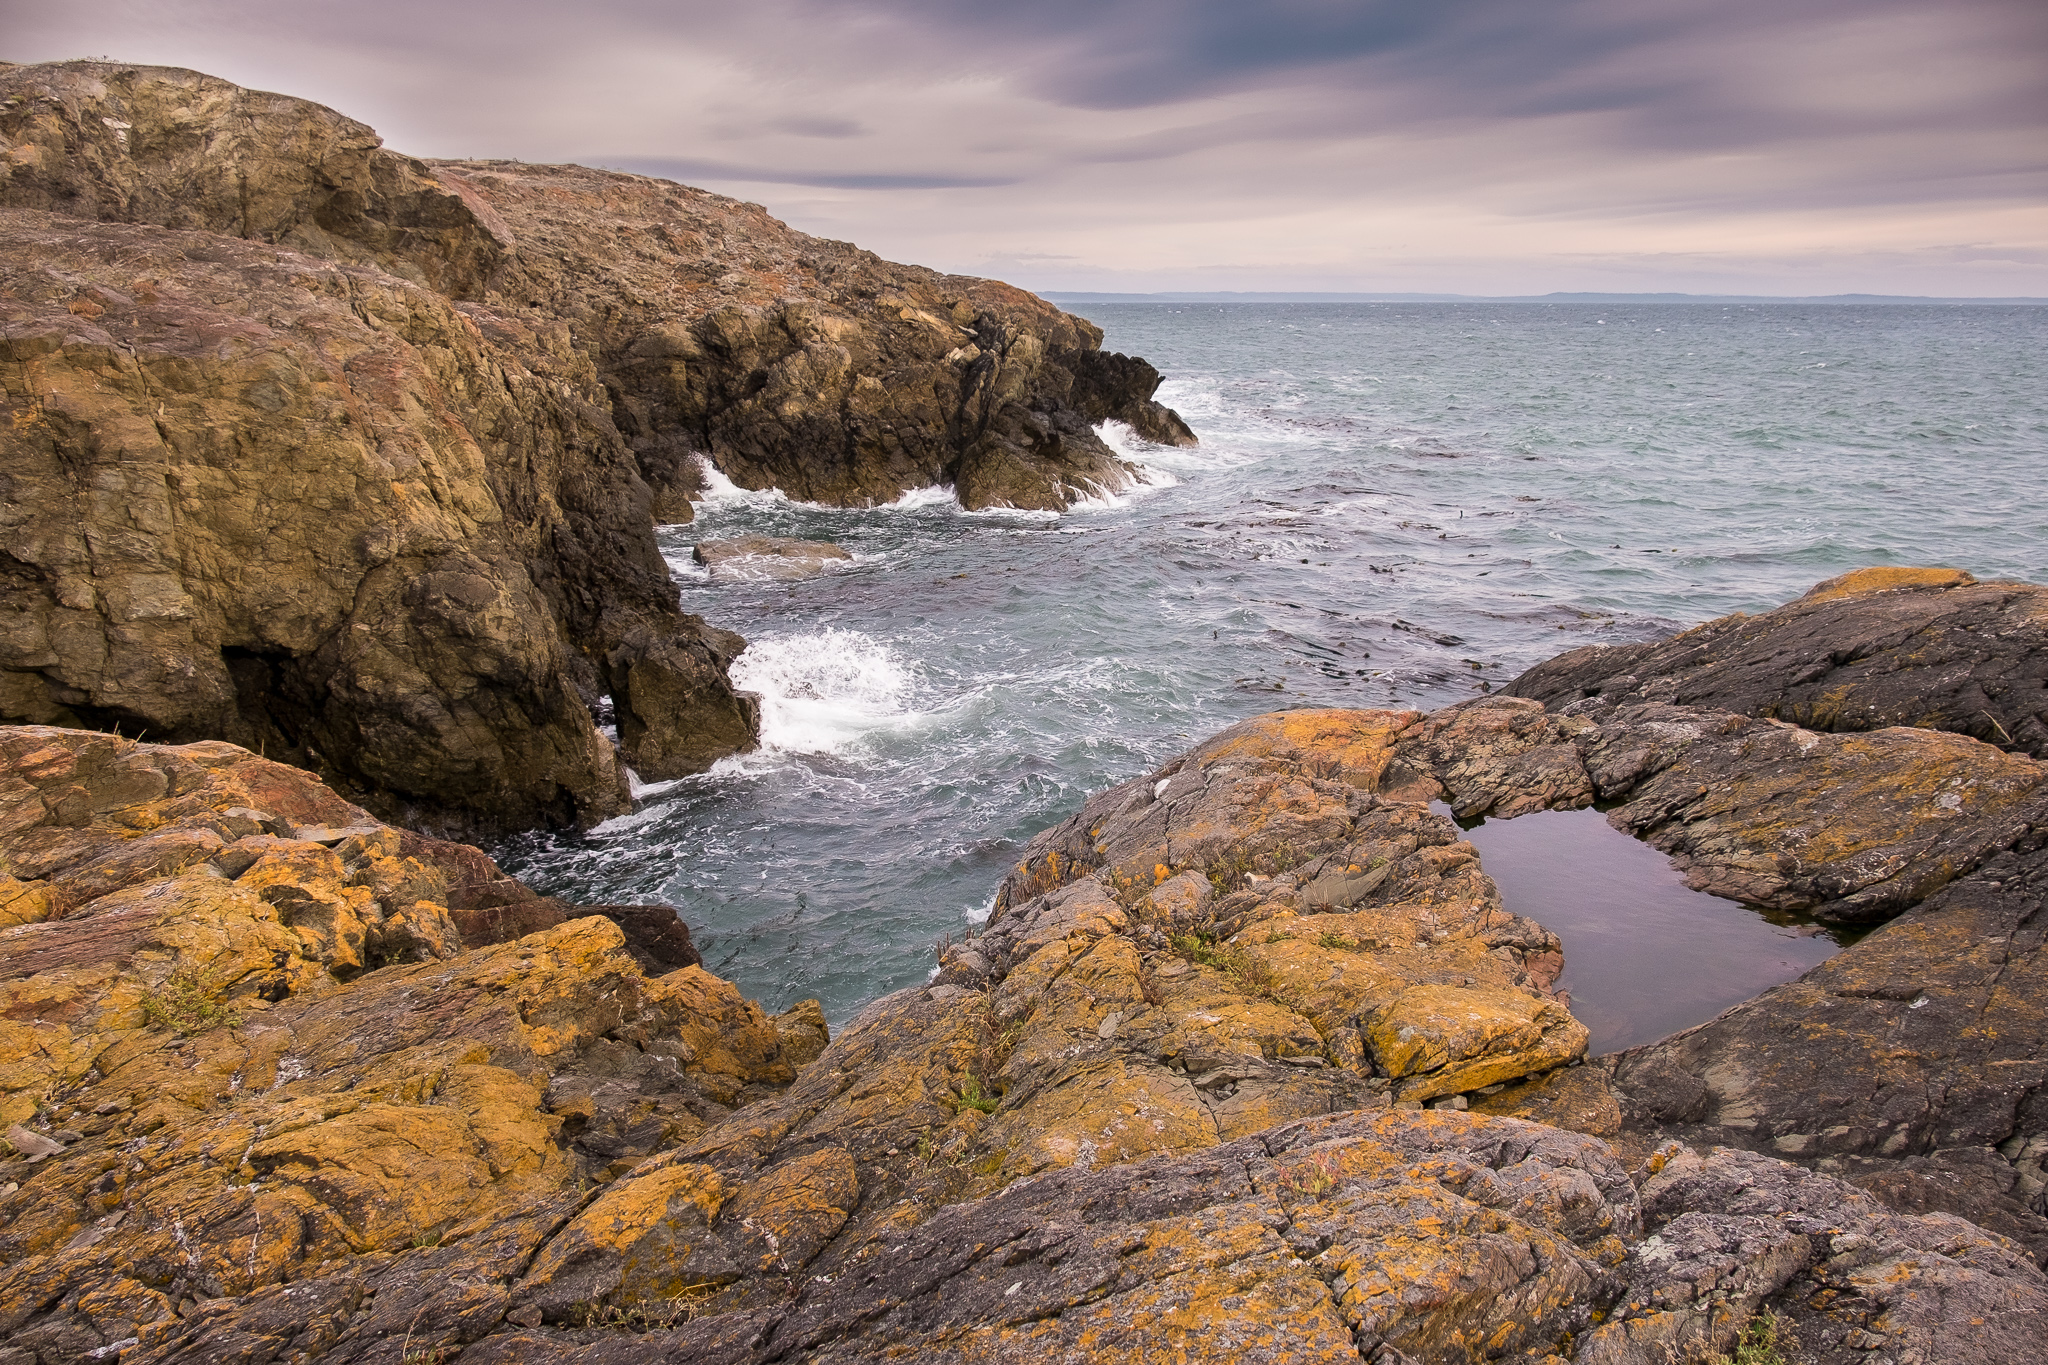
Originally, this natural pool was flat. The Brush tool is perfect for its irregular shape.

I painted the pool using the Brush tool (with the overlay visible here to make it easier to see).

The selective edit tools include most of the adjustment controls, so in this case I've increased the Whites value to make the pool a little more glossy, and boosted the Tint value to bring in some of the purple color that's in the edited sky. Neither are dramatic or overdone—just enough for a slight improvement.

Kirk's sunflower photo captured using the SHOOT shutter release.


